E. Laying Sod
Laying sod is not a difficult job, but it is a dirty one. Make sure you wear some old clothes. We are going to give you some great tips on how to achieve a quality sodding job.
Your final step in sod preparation will be one last final raking with a wide landscape rake before you start laying sod.
Put on your knee pads, and grab a couple of sharp knives.
Hopefully you have some friends, family, and neighbors helping. If you do, the job will go very quickly.
Having someone on your work crew who is experienced at installing sod is a great help. They will be better at laying and cutting sod, and can show others what to do as well.
Having 2 people cutting and laying the sod, and 2 people to feed them sod rolls works well. You can develop a rhythm this way making it faster.
Getting started
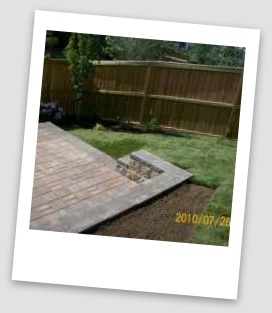
Picking your starting point is important. You want to pick the best spot you can that will allow you to keep off the newly laid sod as much as possible. It would be like painting a floor. You never want to paint yourself into a corner.
Start working off a straight line like the house, patio, driveway, walkway, etc. This also reduces the amount of cut pieces you will have.
Small pieces against features or structures have a harder time getting established. The smaller the piece, the more likely it is to end up dead.
This is often a difficult challenge depending on the shape of your yard, so just try to do your best.
Don't lay sod in the rain. It ends up creating more of mess than it is worth.
During the job
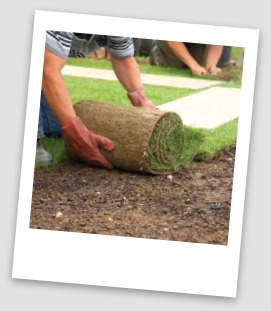
Just like laying out carpet, roll the sod out to its full length. You may notice that the ends still have a little curl to them. If they do, take two hands and roll the end in the opposite direction to make it lay flat. (In my area we call this rolling your ends under.)
This will butt the ends together better and make the joints disappear faster.
Now you can take the next roll and butt it up to the first piece the same way. Continue doing this until you have completed the row.
If you have any slopes in your yard, lay the sod across the slope when you can.
The next row will be done exactly the same, but make sure you stagger the seams into a brickwork pattern. Your barren patch of dirt should now be well on its way to becoming a lush, thick carpet of colour.
If you sod any excessively steep hills, you may want to drive stakes into the sod. This will prevent the sod from sliding down the slope with gravity or rain.
If you find your blade getting dull while cutting sod, replace it right away to avoid tearing the grass and roots. The cleaner the cut, the faster the recovery.
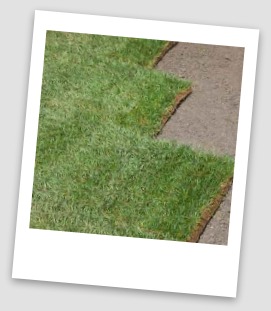
Eliminating seams faster
Their are reasons why some lawn seams disappear faster than others. Some even get worse than they were when the sod was laid.
Proper watering is so important from the moment it is laid down. The sod can dry up and shrink creating bigger gaps if water is not applied immediately. Ongoing watering is covered later on in this module.
Another technique used while sodding is filling in the seams. If you want the seams to disappear quickly, have some loam ready as you are laying the sod. Place some soil in the seams, and press it in with your foot or hand. This will allow the grass to migrate into this soil quickly, and make the seams disappear faster.
Let's complete your sodding project...
_____________________________________
Table of Contents: Sodding a Lawn
A. Sod Site
C. Selecting and Estimating Sodding Materials
E. Laying Sod
F. Sodding Completion and Clean-up
_____________________________________
Return to Dream Yard Home Page from Laying Sod
Check out our time and money saving e-book

How to avoid the biggest mistakes made by DIYers, designers, and landscaping companies.
Visitor
Favorites


Giggles 'n' Thoughts
