E. Preparing the Base for a Flagstone Walkway
Now you are ready to begin preparing the base for a flagstone walkway. This is an important step as the foundation must be installed properly. Prep work is always the key to quality in anything you do.
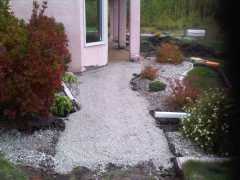
You must make sure your excavation area is level along the whole length, and has been scraped clean of all loose or soft dirt. Consistency means you don't end up with 6 inches of sub-base at one end, and 3 at the other.
Hopefully, you will have reached a hard packed subsoil or clay base. It is normal to have to excavate more than your required amount of sub-base if you have very soft soil. The key is reaching a hard base to start from. You should excavate as much as needed to find that base.
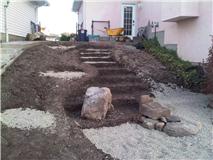
Once you have the area excavated you can add a very thin layer of gravel, or your choice of sub-base material to pack in the subsoil. I usually just put down about a ¾ inch of crushed rock (1 layer).
The subsoil can be hard to pack with a plate tamper, so the gravel will allow the power tamper to vibrate and move forward much easier. (They don't move as well on loose dirt).
 |
 |
Jumping jacks are the best tool to pack in subsoil and bases. They have a greater packing power than a vibratory plate tamper. I use them frequently when I don't have a solid clay base to start from.
Now you have your subsoil packed in, you can pack in your required sub-base in 2inch layers. (These are called lifts.) Packing in 2 inch layers ensures your base is packed in properly. (I use ¾ inch crushed rock with a 2 inch crushed aggregate on top), but your landscape supplier may have recommended something different. Limestone fines are a controversial material and we recommend doing a little research before you make this choice.
Make sure you avoid using round rocks like pea gravel under your walkway because they do not pack in as well. Crushed rock has more mechanical bond, because the broken and jagged edges lock together better than round ones do.
You were asked to purchase a 2 x 4 back in your materials required. You won't actually be screeding like you do with a brick or interlock walkway, but you will still need to ensure you have a good level base to start from.
You can use this board for checking grades over larger distances.
If you are using 2 inches of bedding sand over your packed sub-base, you can lay down 2 inch PVC pipe on each side of the walkway. This is similar to a screed guide. Drag a board across the pipe to make a level bed of sand between the guides.
The stones vary in thickness, so a screeded sand base won't be needed. You will be adding or taking away sand according to the thickness of the stones.This is the difference between natural bricks and flagstone.
Remember that your sub-base should always extend out further than the edge of your intended patio width by at least a few inches. (4 to 6 is preferred.) You need to ensure proper support at the edges. How far out this ledge extends will also depend on the type of edging you are installing.
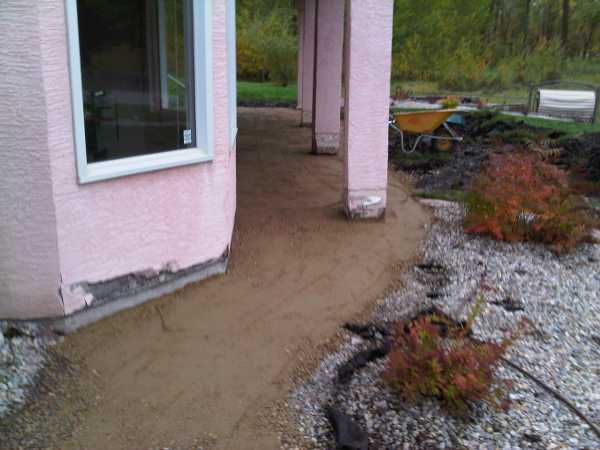
Spread the rest of your sand (2 inches) over the surface. This is what you will be bedding your flagstone on. You are now ready to put together your jigsaw puzzle walkway by laying and packing the stones.
Introduction: How to Build a Dry-laid Walkway
B. Tools for a Flagstone Walkway
C. Materials for a Flagstone Walkway
D. Preparing a Flagstone Walkway Site
E. Preparing the Base for a Flagstone Walkway
F. Laying and Packing Stones for a Flagstone Walkway
G. Flagstone Walkway Edging and Jointing
H. Walkway Completion and Clean-up
Return to the Dream-yard Home Page
Return to "The Yard": Landscaping How-to Modules
Check out our time and money saving e-book

How to avoid the biggest mistakes made by DIYers, designers, and landscaping companies.
Visitor
Favorites


Giggles 'n' Thoughts
